After a 2008 canoe trip down the Delaware River with Steve B., Skip and Bob Y. I bought a Cooke’s Custom Sewing canoe cover for my Wenonah Cascade. I had researched the value of canoe covers after our 2003 Spanish River canoe trip, but one rapid on the Delaware convinced me to buy fairing fillers. At the end of the trip we paddled to the Delaware River Family Campground. Just before the campground we went under a railroad bridge which had some largish standing waves. We all took on water over the sides of the boat – not bad, but it was sloshing around as we pulled the last few hundred yards to the Campground. While some of the waves broke over Steve’s lap, the majority of the water came in just behind the front seat. A canoe cover would have prevented this. I anticipated many more white water trips and bought a canoe cover.
The canoe cover languished in it’s box for several years, until this winter as Skip and his brother-in-law Steve began to make plans for another Spanish River canoe trip. I dragged my canoe into the basement with the intentions of installing it during a winter weekend. That didn’t happen. So this weekend I once again moved the canoe and set up in the shade under the shed.
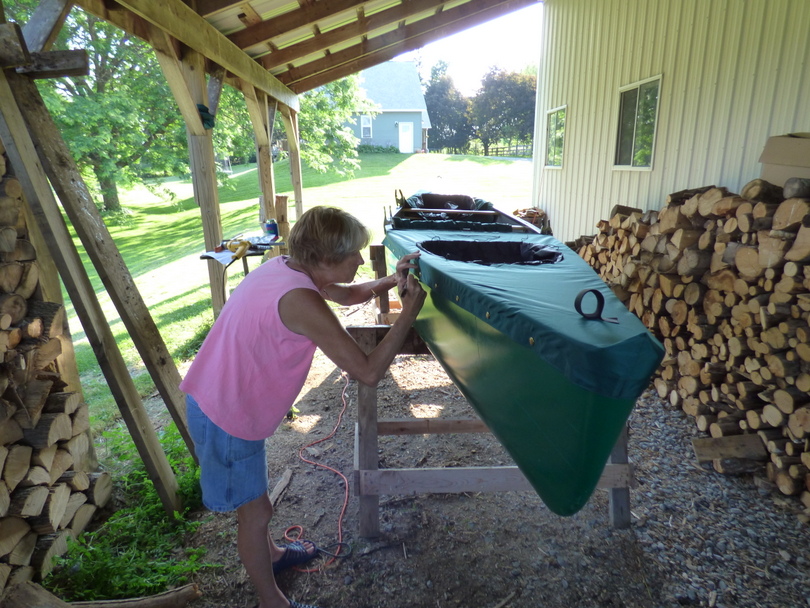
Dan Cooke’s instructions called for taping the cover in place using duct tape, but over the winter I had sprayed the canoe with 303 vinyl protection, which made it difficult for the tape to stick. After some trial and error Kathryn and I settled on using clamps to hold the cover in place. We located the snap locations by a combination of measurements and direct transfer of marking the cover snap with a Sharpie and then pressing the cover snap onto the boat. Contrary to the instructions we started at the canoe ends and worked to the middle of the boat. It was definitely a two person process. Once we installed the front section and got over the terror that comes with drilling holes in one’s canoe, the project flowed smoothly. There were two sets of snaps that couldn’t be fastened due to the metal plate seat hangers. Most of the snaps were installed 3/4″ -1″ below the gunnel plate.
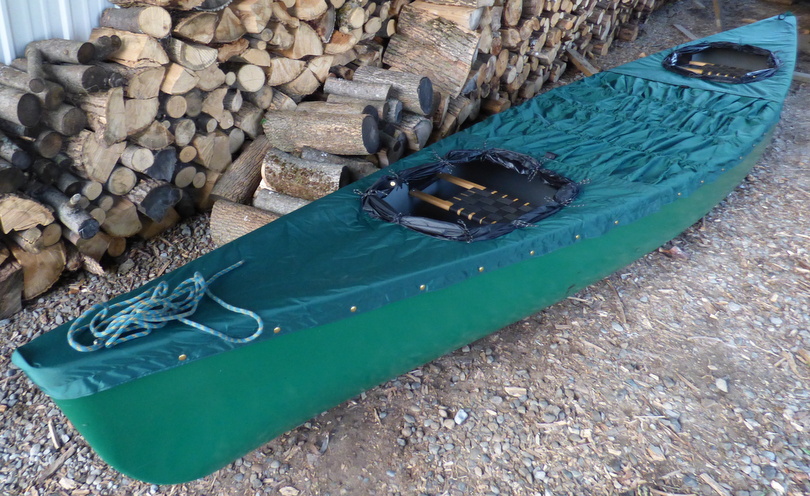
The finished product.


